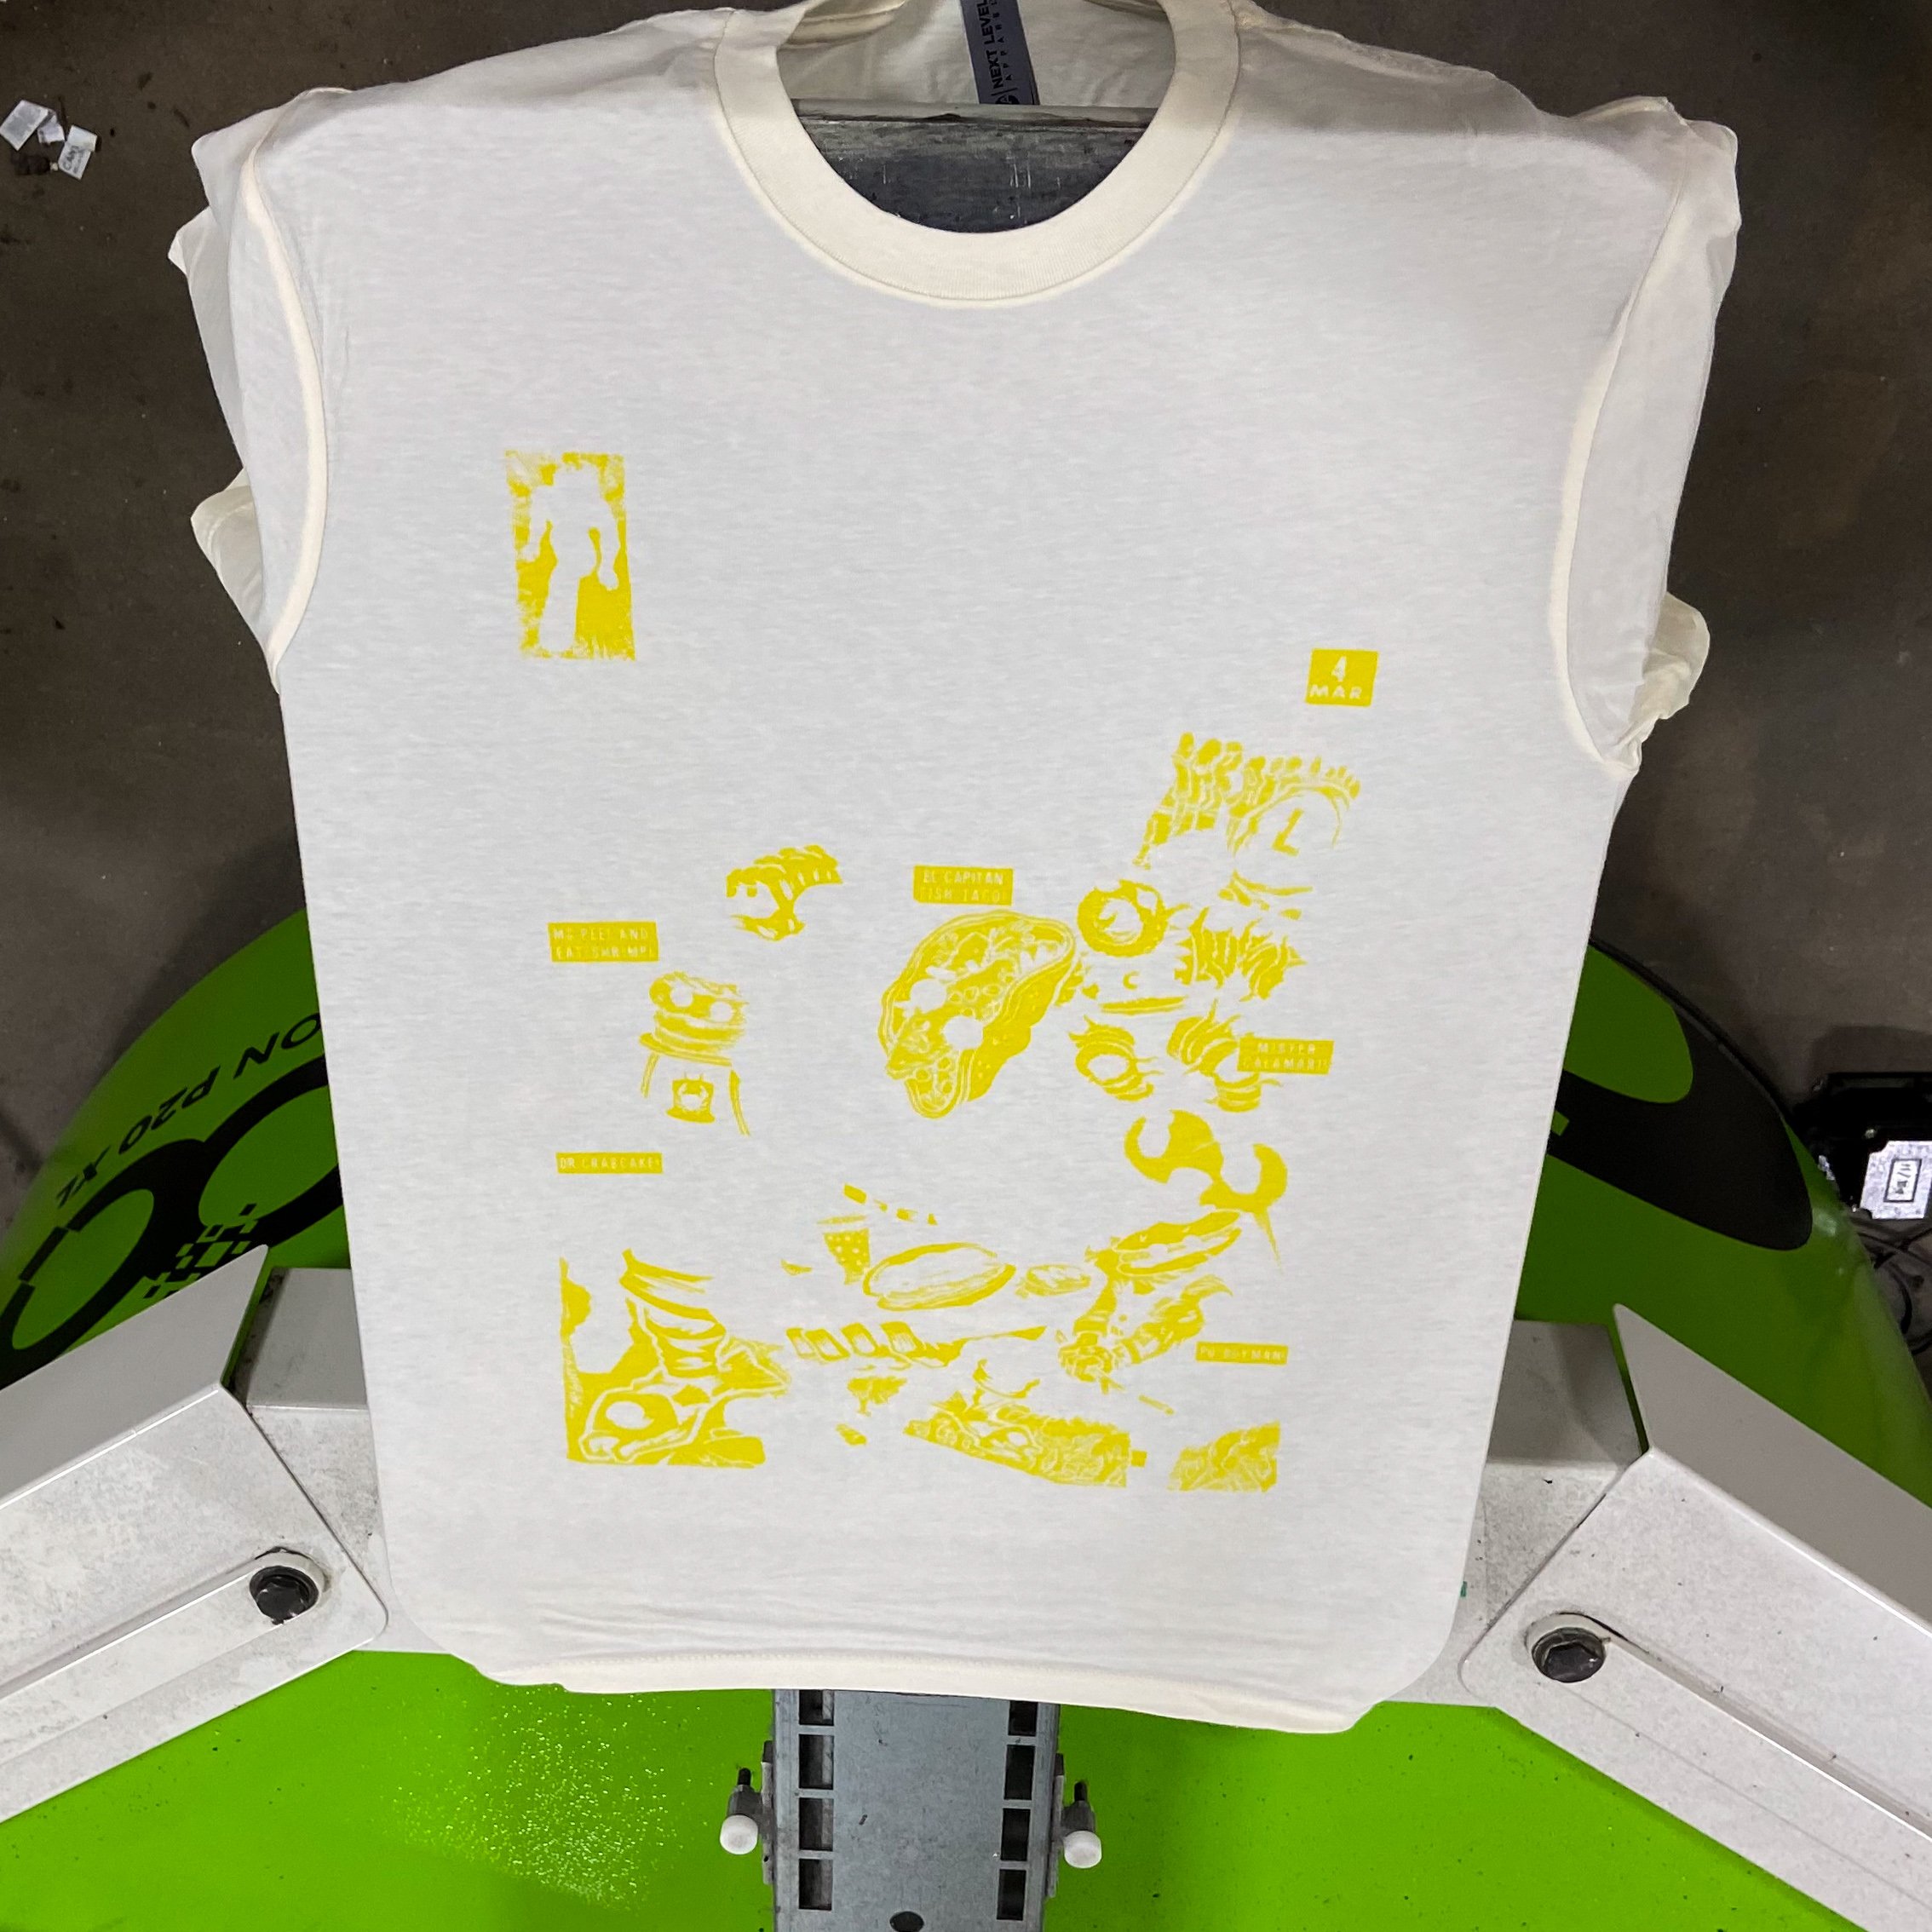
Curious about simulated color separation? We've got you covered. Let's dive into what color separation is and how it's utilized in screen printing.
What is color separation? As the name suggests, color separation is the process of dividing an artwork into its individual color components for the screen printing process.
The most efficient and effective method of color separation is known as Simulated Process Color Separation.
So, what is simulated process color separation? This technique uses halftones of various colors to create the illusion of a full-color print, reducing the need to use separate inks for each color. During both the artwork creation and printing process, a basic spectrum of colors is layered to produce additional colors in the design. For instance, combining blue and yellow results in green!
What are halftones? Halftones are small dots that vary is size to simulate different shades and gradients in a color once screen printed.
Separation for Sea Salt Eatery.
Let us introduce you to this project done for Sea Salt Eatery. This isn't your typical simulated process print, it's a unique blend of a four-color print and simulated process color separation. By using only four different ink colors, we managed to achieve a six color print. Let's dive into the process behind it and see how each layer contributes to the final print!
First Color: Yellow
The first color in this simulated process print is yellow. This yellow layer serves as the foundation for all the colors we will create through layering ink. Notice the areas covered by the yellow ink, as they will be crucial in forming the final colors.
Second Color: Blue
The second color in this simulated process print is blue. Pay attention to how it overlaps with the yellow areas, creating a green shade without the need for any green ink!
Third Color: Black
This is the third color in our simulated process print. While this black ink doesn't create new colors, it plays a crucial role as the outline layer of the design. For other t-shirt color variations, we swapped the black ink with white ink to provide a contrasting background, using the shirt's color for the outline instead!
Fourth Color: Red
Here is our fourth and final color in this print, red! This brings out all of the colors in this simulated process print. Notice how the yellow and blue inks printed earlier blend to create green. Now, with the addition of red, we also achieve orange! By layering just four inks, we have successfully created a vibrant print with six distinct colors!
The Completed Prints:
This artwork was created by Brad McGinty, artist and creator of Glorp Gum. This design has become an annual favorite for our friends at Sea Salt Eatery. Each year, we are just as excited to watch this print come to life.
The possibilities for color separation are endless! Every time we get to print something, we’re amazed by the results. Creating artwork for a simulated process print can be quite a process. Be sure to stay in touch with us to get guidance on the right colors to use and how to accurately separate the layers.
Looking to print something like this? You've come to the right place! If you're interested in using a simulated color process for your next merch run, simply fill out the quote form below and mention "Multicolor Artwork Print." We'll handle the rest, providing all the details needed to bring your design to life and offering guidance as you prepare your artwork.


